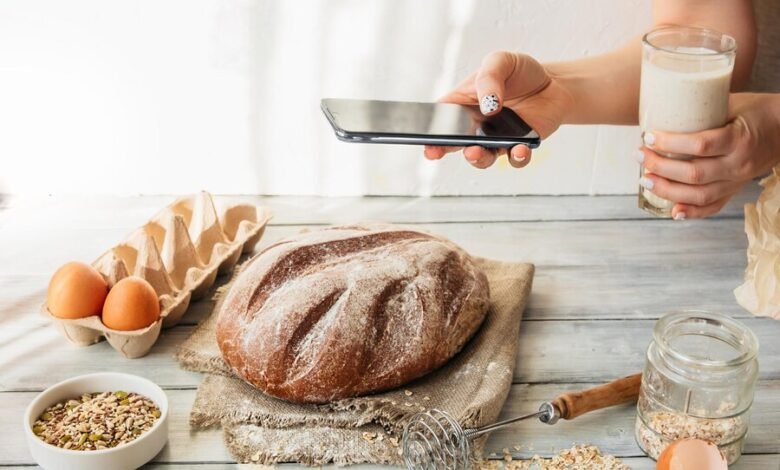
There’s something magical about the art of bread making. From the heavenly aroma filling your home to the satisfaction of slicing into a homemade loaf, creating bread is both a science and an art. Whether you’re a seasoned baker or a curious home cook, this guide will walk you through everything you need to know to make the best homemade bread—from tools and techniques to troubleshooting common challenges.
Why Bread Making is Still Relevant Today
Bread is an ancient food staple that dates back thousands of years. While mass production has made it convenient to buy bread, many people are rediscovering the joys of the traditional bread-making process. Why? Homemade bread stands out for its freshness, flavor, and the creative freedom it offers. Plus, making bread at home allows you to control the ingredients, avoid unnecessary preservatives, and even boost its nutritional value.
If you’re ready to knead your way to success, let’s get started with the essentials.
Essential Tools and Ingredients for Making the Best Bread
Before you put on your apron, it’s important to set yourself up for success with the right tools and ingredients. Here’s what you need in your bread-making arsenal.
Tools
- Mixing Bowls – For combining and kneading your dough.
- Digital Scale – Precision is key in bread baking, and a scale helps ensure your measurements are accurate.
- Bench Scraper – Great for managing sticky dough and shaping your loaf.
- Proofing Basket – Helps structure your bread while it rises.
- Dutch Oven or Baking Stone – These retain heat evenly, giving your bread a crisp crust.
- Thermometer – Ensures your bread is fully cooked (look for an internal temperature of ~200°F).
Ingredients
- Flour: All-purpose, bread flour, or whole wheat depending on the type of bread you’re making.
- Yeast: Active dry yeast or instant yeast is most commonly used.
- Water: Use lukewarm water to activate the yeast effectively.
- Salt: Enhances flavor while regulating yeast activity.
- Optional Add-ins: Experiment with sugar, butter, herbs, seeds, or raisins for specialty breads.
Having the right basics will make the process smoother, so you can focus on the fun part—baking!
Step-by-Step Guide to Making Bread from Scratch
Bread making may seem intimidating, but breaking it down into simple steps makes it approachable. Here’s how the process works.
1. Preparing the Dough
Start by combining warm water and yeast in a bowl. Allow the yeast to activate (it should foam after 5–10 minutes). Mix in the flour, salt, and other ingredients, then stir until the dough begins to come together. Transfer the dough to a floured surface and knead for about 10 minutes until smooth and elastic.
Quick Tip: If the dough feels sticky, add flour in small increments—just enough to make it workable. Avoid over-flouring to keep the bread light.
2. Proofing and Shaping
Place the dough in an oiled bowl, cover it with a cloth, and allow it to rise at room temperature until it doubles in size (usually 1–2 hours). After proofing, punch the dough down lightly, divide it (if making multiple loaves), and shape it to your preference—whether it’s a rounded boule, a braided challah, or a simple sandwich loaf.
Quick Tip: Don’t rush the proofing stage. Allowing the dough to rise fully develops its flavor and texture.
3. Baking Techniques for Different Types of Bread
For crusty artisanal bread, baking in a preheated Dutch oven or on a baking stone yields great results. To create steam for a better crust, use a spray bottle to mist the oven walls or add a pan of water to the oven during the first half of baking.
For softer bread like brioche or sandwich bread, bake in a loaf tin and avoid steam. Adjust temperatures and times according to your recipe, but a golden-brown crust is a sign of a job well done.
Tips and Tricks from Professional Bakers
Want to take your bread to the next level? Try these expert tips to elevate your baking game.
- Autolyse Your Dough: After mixing flour and water, rest it for 30 minutes before adding yeast and salt. This helps hydrate the flour and improves gluten development.
- Use a Pre-ferment: Ingredients like a poolish or sourdough starter add depth of flavor.
- Score with Style: Use a sharp razor to create decorative patterns—it also helps the steam escape during baking.
Health and Nutritional Benefits of Homemade Bread
Did you know that bread doesn’t have to be a guilty pleasure? With homemade bread, you have the power to turn it into a nutrient-rich staple!
- Use whole grain flour for fiber and essential nutrients.
- Add seeds like chia or flaxseed for omega-3s and healthy fats.
- Skip artificial preservatives, additives, and excess sugar found in store-bought bread.
Homemade bread isn’t just tastier—it’s better for your body, too.
Troubleshooting Common Bread Making Mistakes
Even experienced bakers encounter challenges. Here are solutions to common issues that arise during bread making.
- Flat Loaves: Check your yeast’s expiration date or proofing time.
- Dense Texture: Be sure to knead the dough enough to properly develop the gluten.
- Overbaking: Use a thermometer to check doneness instead of relying on visual appearance.
Remember, every mistake is a learning opportunity, and with practice, your bread-making skills will soar!
Keep Kneading & Experimenting
Making great bread is a skill that anyone can master with a bit of patience and experimentation. From choosing the right tools to understanding the art of proofing, each step brings you closer to the perfect loaf.
We’d love for you to share your bread-making successes (and lessons learned) with our growing community of baking enthusiasts. Post your creations on social media and tag us at [Brand Name].
Start your bread-making adventure today, and experience the joy of fresh, homemade bread at your table.


